Nice flower pots usually have one major disadvantage: they don’t have drainage holes for excess water to escape. As a result, the plants in it will probably suffer from root damage. A self-watering planter can help with this. But unfortunately they usually aren’t really nice, or are very expensive. So we decided to put one together ourselves! Do you want to make a self-watering planter too? With these tips you’ll be able to.
Necessities
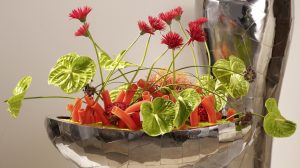
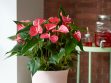
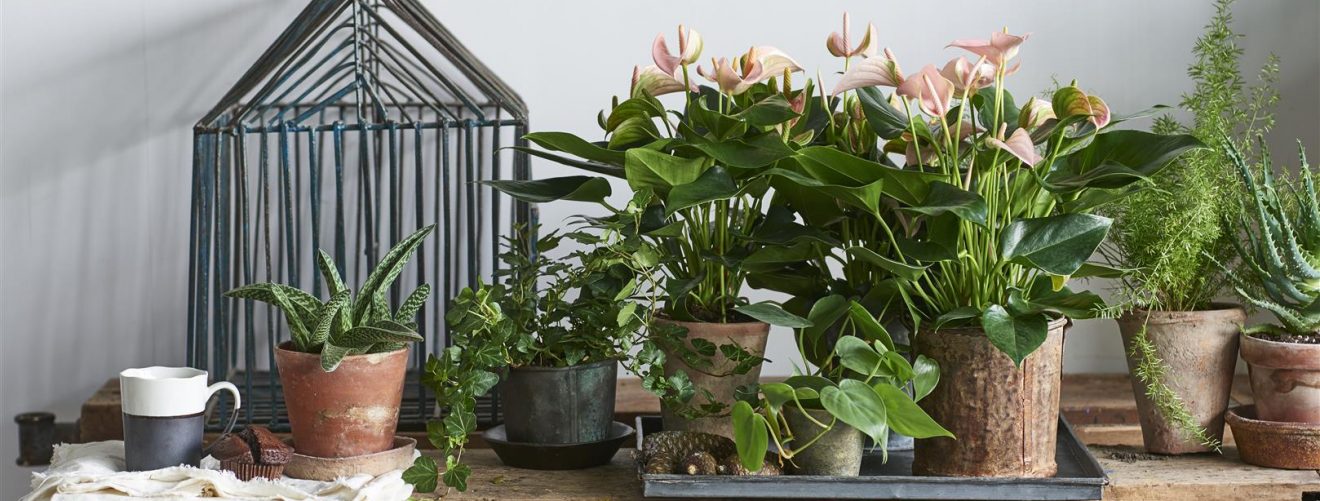
This self-watering planter is especially suitable for indoor tropical plants that like their soil to be moist at all times, but not soaking. Like the anthurium or orchid. To make a self-watering planter, you need the following:
- A tropical plant like an anthurium or orchid, in its original plastic pot
- A planter, around 1½ to 2 times the volume of the plastic pot
- Porous fabric such as cotton, anything that will soak up water
- A handful of activated charcoal
- A bag of aqua clay pebbles
- Scissors
- A cup
How to make a self-watering planter
Carefully remove the plant from the plastic pot and lay it on its side. Cut strips of fabric to a length of three times the height of the largest planter, and to a width that will allow it to fit through a drainage hole of the plastic pot. The amount of strips you’ll need is half the number of holes.
Insert each strip of fabric through one drainage hole and then out through another. This allows the fabric strips to hang down below the pot. Tighten them.
Sprinkle the activated charcoal on the bottom of the large planter and top this with the aqua clay pebbles. Place the plastic pot on top. Make sure that the strips of fabric nestle in among the stones all the way down to the base of the bigger planter. It’s a bit difficult, but it will ensure that the fabric soaked in water will reach the soil line.
When this is done, place the plant back in the plastic pot. Fill the pebble reservoir with water to the top of the pebbles, using the cup. Write down how many cups you needed for this, so you know this for when it’s time to water again. Fill the space around the plastic pot with more clay pebbles and make sure the plastic pot is no longer visible. After a few hours you will see that the top of the potting soil feels moist!
By checking the dampness of the compost with your finger, you will know when it’s time to top up the water reservoir. If it feels dry, it’s time to top up the reservoir again.
Also see our other DIY’s: